|
The shop lights were mounted by shortening
the chain that they came with and hanging
them from the aviary frame's ceiling crossbeams.
|
|
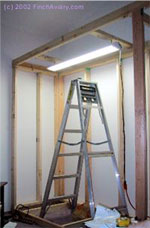
 Shop
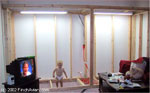
lights were hung from crossbeams in the ceiling.
Shop
lights were hung from crossbeams in the ceiling. |
|
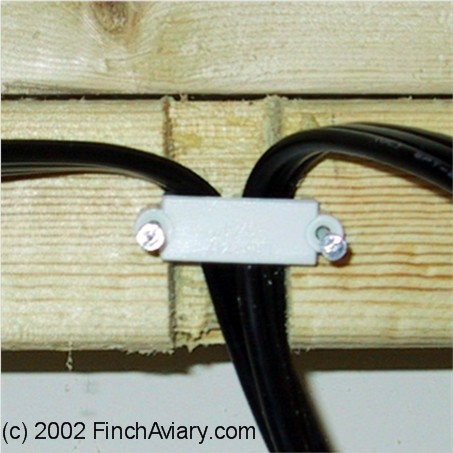
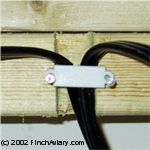 A
notch was cut in the frame ceiling, through
which the electrical cords could be threaded
behind the interior panels, which would be
installed later.
A
notch was cut in the frame ceiling, through
which the electrical cords could be threaded
behind the interior panels, which would be
installed later. |
|
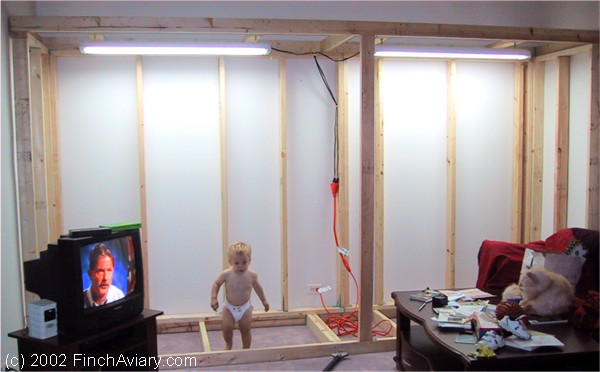
Once
the frame was up, we decided to install the aviary lighting
next. We did this primarily because once installed, the
light fixtures would provide ample light for working on
the remainder of the aviary. The simplest approach to
aviary lighting was to purchase shop lights (like those
used in garage and basement workrooms). Thus, we need
only suspend them and plug them in. In order to decide
what shop lights to buy, I had to decide on what type
of light bulbs I wanted to use in the aviary. The full
spectrum lights I chose for the aviary are the Sunstick
(DSGN50) from Sylvania. These are consumer grade full-spectrum
bulbs with a color temperature of 5000K and a color rendering
index (CRI) of 90. They are probably comparable to the
GE Sunshine bulbs, also commonly available (for more information
on lighting, see the "Light
Bulb" topic of the Accessories
section). These bulbs are 48" long, 40 Watts, and
use a T12 connection. We therefore purchased two double-fixture
shop lights that accomodated these bulbs. Note: flourescent
bulbs should be used in double fixtures (two bulbs per
fixture) and not installed singly.
The
shop lamps were hung from short chains attached to the
crossbeams on the ceiling panel. Using the chains made
installation easy (they come with such chains - we just
had to shorten them significantly). It also makes the
fixture flexible so that we can access it from above and
turn it upwards to replace the light bulbs without disturbing
the birds in the aviary.
The
electrical cords were strung through a notch we cut in
the frame so they would extend behind the interior wall
panels and reach the outlet in the wall behind the aviary.
Here they were attached to a timer that regulates the
birds day/night cycle, and that timer was plugged into
a surge protector. These cords could be accessed through
an outlet door that would be installed in one of the interior
wall panels of the aviary.
A
red light was intended to be mounted to the ceiling panel
at the center of the aviary. This light would have been
on a timer to go on shortly before the full-spectrum lights
went off and then to turn off again shortly after the
aviary lights turn on. The red light would provide enough
light for the birds to find their way to their sleeping
spots when the lights go out (and when startled at night),
without keeping them awake at night. However, when we
tested some incandescent fixtures with red light bulbs,
they generated an awful lot of heat. Because the top portion
of the aviary between the ceiling and the roof would not
have ideal ventilation, we were afraid the red light would
become a fire hazard. Instead, we wired an extension cord
so that we could add such a fixture in the future, but
opted to use a standard nightlight on a nearby outlet
instead.
|