|
CONSTRUCTION
|
||
|
|
|
|
|
The Temporary Aviary
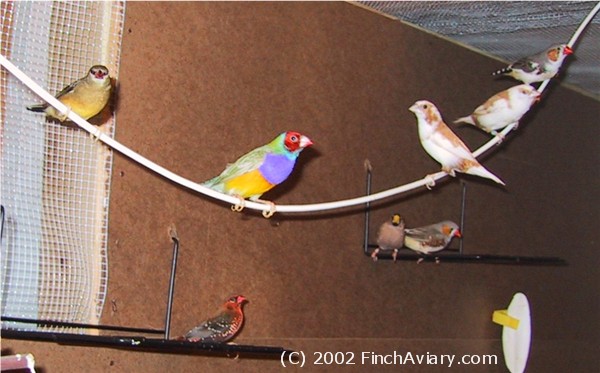
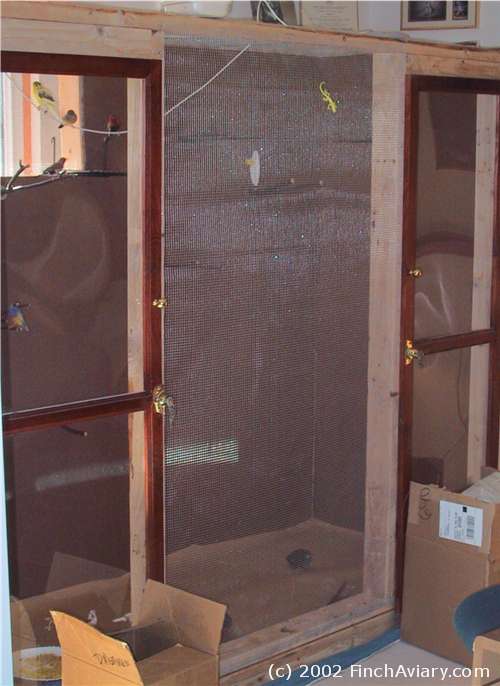
While the new aviary was being built, the birds had to be moved from the old aviary. This was true for a number of reasons. First, we were having new carpeting installed in the Living Room, where the aviary resides. Carpet fumes can be hazardous for the birds. We were also taking the opportunity to touch up on some painting and staining in the room - again putting the birds at risk for exposure to hazardous fumes. Finally, because the new aviary was going to be built where the old aviary was located and the old aviary was too big to be moved, the birds would have to be relocated and the existing aviary destroyed before the new aviary could be built. Due to its size, the new aviary had to be built in place.. One option would have been cages. This was not the optimal choice, however. First, cages are expensive and we would need to buy several additional cages to house all of the birds. Second, the birds had become accustomed to having lots of space and it would be difficult to deprive them of this, even for a few weeks. Third, it is more time consuming to maintain a number of cages than to maintain a single aviary. Finally, the button quail are unsuitable for cage life - needing height to prevent them from injuring themselves if they become startled and jump up. So instead, we decided to build a quick and dirty temporary aviary. The temporary aviary was constructed from 2x4s, hardware cloth, and cheap particle board. The doors from the existing aviary were attached to the temporary aviary for convenience. I used spare manzanita branch perches and metal bird sundecks for perches, and added a plastic clothesline swing (which, to my surprise, turned out to be the favored perching spot for all birds). The total cost to build the temporary aviary was somewhere around 100 dollars. Aside from being unsightly, the temporary aviary would be an unsuitable permanent home for the birds. The particle board walls and floor are not very strong and could become damaged by water exposure over time (the floor was lined with a peelable shelf liner for a little extra protection). The exposed wood of the 2x4s is difficult to clean. And the particle board was a dark color, making the aviary a little too dark for my liking and also making it difficult to view the birds. The hardware cloth was not painted black and so visibility through the mesh is poor. Nonetheless, it made a suitable home for a short period and the birds adjusted quite nicely. Click Previous to return to the Aviary Plans | Click Next to read about the Structural Frame |

|
HOME
| CONSTRUCTION
| CARE
| BIRDS | ACCESSORIES
| BACKGROUND
AVICAM | GALLERY
| GUESTBOOK | LINKS
| SEARCH
SITE MAP | DISCLAIMER
| CONTACT US
(c)2004 FinchAviary.com