|
|
Constructing
the Aviary Walls
Design
Change | Panel Material | Painting
| Outlet Door | Installation
|
Design Change
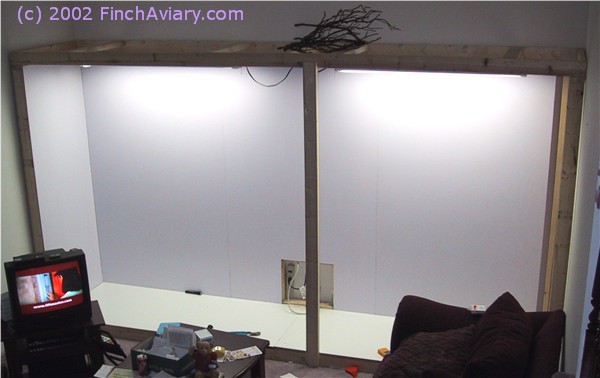
We made a change in the original design with regard to
the wall panels. The original design called for removable
panels so that we could get behind the wall to screw in
the perches. (We cannot get behind any of the aviary walls
because the aviary is built snug up to 3 walls in our
Living Room). However, after consulting with Tom, the
structural expert, there were too many issues to overcome
with regard to the construction of the removable panels.
Instead, we decided to build permanent walls and use self-locking
screws to install the perches (see Installation of Perches
and Accessories for more information). In addition to
making construction simpler, permanent walls help improve
the sturdiness of the structure.
| Wall
Panel Material |
|
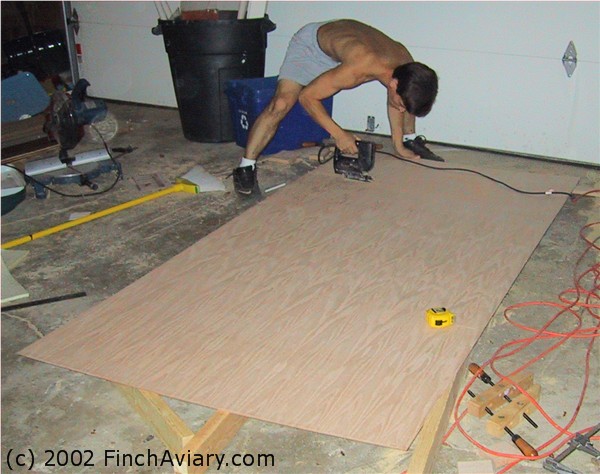
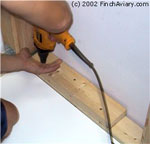
Tom shortens the panels to a height
appropriate for the aviary.
The cut edge does not need to be perfectly
straight, since it extends up into the
lighting portion of the aviary and the
top edge will not be visible when everything
is finished.
|
|
I
looked at prefabricated paneling as a wall option
because many types have a smooth surface that is easy
to clean. However, I couldn't find a pattern that
I liked. I didn't want to go with a paneled "wood"
look, and many of the more interesting paneling either
had a tile look that didn't seem appropriate for an
aviary, or a textured surface which would be difficult
to clean. Also, the paneling didn't seem to be as
strong as I would have liked the aviary walls to be.
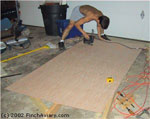
So
instead, I went with a 1/4" thick oak hardwood
plywood. First, the wood paneling had to be cut
to the proper dimensions for the aviary. This meant
shortening the pieces slightly. The width only needed
to be trimmed for the side pieces and one small
sliver to fill a small gap on the back wall.
|
| Painting |
 Finally,
a job I can do!
Finally,
a job I can do! |
|
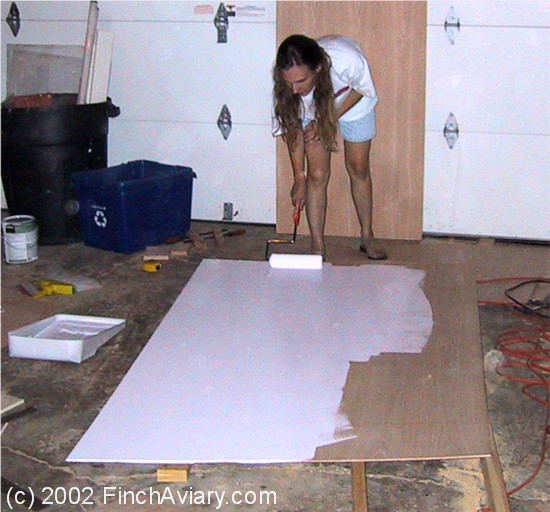
Next, the paneling needed to be painted or stained.
I decided against staining the panels in favor of
painting with a semi-gloss water-based paint. In
the flight that Tom had used, we had stained the
back wall red oak to match the exterior, but the
dark color of the stain made it difficult to view
the birds within. A lighter stain would have been
okay, but I wasn't really looking for that much
of a "wood" look. Also, the stained panels
were still slightly textured from the grain of the
wood (even when a finish was used), and although
they were not that difficult to clean, smooth would
be better.
The
paint I chose was Lilac Scent, from Behr, available
at Home Depot. I chose semi-gloss because it gives
the wood a nice smooth surface that is easy to wipe
clean. Gloss would have been even better, but I
wanted to limit the amount of reflection or glare
coming off the walls, so semi-gloss was a nice compromise.
With regards to color, I would like to have chosen
a nice light sky blue, but I didn't think that would
go very well with our purple/plum color scheme in
the living room. So instead, I chose the Lilac Scent,
which was nearly white with a touch of purple. If
you are planning to build your own wooden cage or
aviary, take my advice and paint the interior a
light color. It becomes very difficult to see the
birds amidst a dark background, particularly darker
colored birds like Strawberry finches. (Note that
this is the opposite of what is said about cage
bars or mesh. In those cases, black paint should
be used for best visibility.)
I
painted all cut panels with a paint roller in our
garage, painting in parallel to the grain of the
wood. Two coats of paint were used. Once the paint
was dry, we were ready to install the walls.
|
| Outlet
Door/Corners |
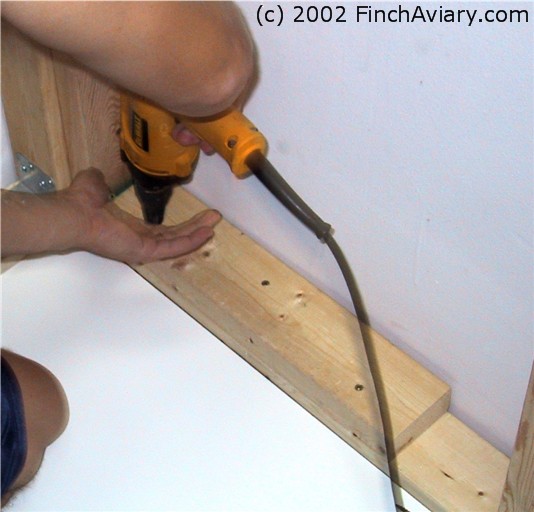
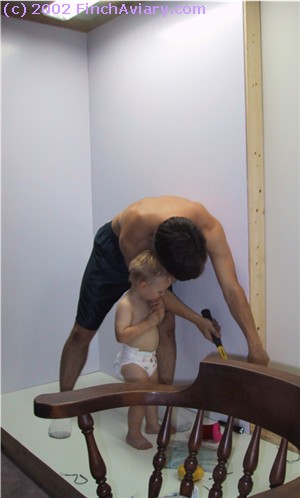
Tom
always said that having the right
tool is the key to every job. Apparently
the right tool for this job is a spatula.
2x4
supports were added to support the
hinged outlet door. A notch was drilled
into the top support to allow the
electrical cords to pass through.
|
In
the corners, 2x4 supports were added
to support the hinged platforms that
will hold accessories.
|
|
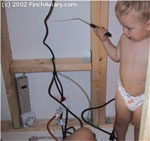
Before
the walls were attached, a 2x4 was added to the
structural frame to box in the outlet area. This
2x4 would be used to attach a hinged door that would
allow access to the outlet and the light timers.
2x4s were also added to the corners of the aviary,
where hinged platforms would be installed on which
I could place items such as the seed hopper and
the quails' sandbath. These platforms would allow
the paper floor lining to be able to be pulled out
from under the accessories without needing to remove
the accessories.
|
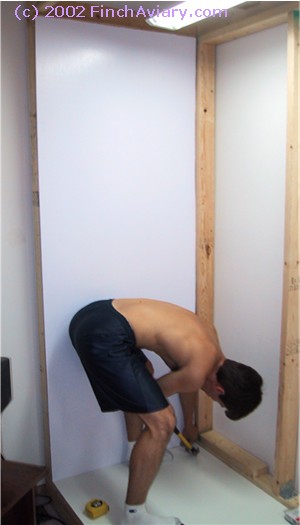
| Installation |


Panels
were nailed to the 2x4 supports of
the structural frame, using 1"
white paneling nails.
|
|
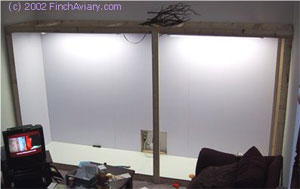
Wall panels were attached to the structural frame
with 1" white paneling nails. Nails were used
liberally along all 2x4 supports and the top and
bottom, with each nail being just a few inches from
the next. When the panels were all attached, the
stability of the structure was greatly improved.
Note that the 2x4 supports had been strategically
located such that the edges of all panels lined
up with a 2x4 to which it could be nailed.
|
|
Click
Previous to return to the Floor Construction Page | Click Next
to read about how the front was built and installed
PREVIOUS
 |
|  NEXT
NEXT
 TOP TOP
|
|
|
|
Supplies
|
5
(4x8-ft) 1/4" thick oak hardwood plywood
|
total
$98.95
|
|
1
gallon Behr Lilac Scent semi-gloss 100% Acrylic
Latex paint
|
total
$21.97
|
| 2
boxes of 1" white paneling screws |
total
$2.90
|
|
|
| |
|
Remember,
click on any photo to enlarge!
|
|
|